Creating a Pinnion
First, go to your Pinnions page.

Here, you’ll see any Pinnions you create in the future and be able to check them and edit them. For now, it should be empty. Click the New Pinnion button to start working on a new Pinnion. Enter a name that’s appropriate for your Pinnion, this will appear on the top bar and intro screen of your Pinnion. Don’t worry too much about this, you can change it at any time.
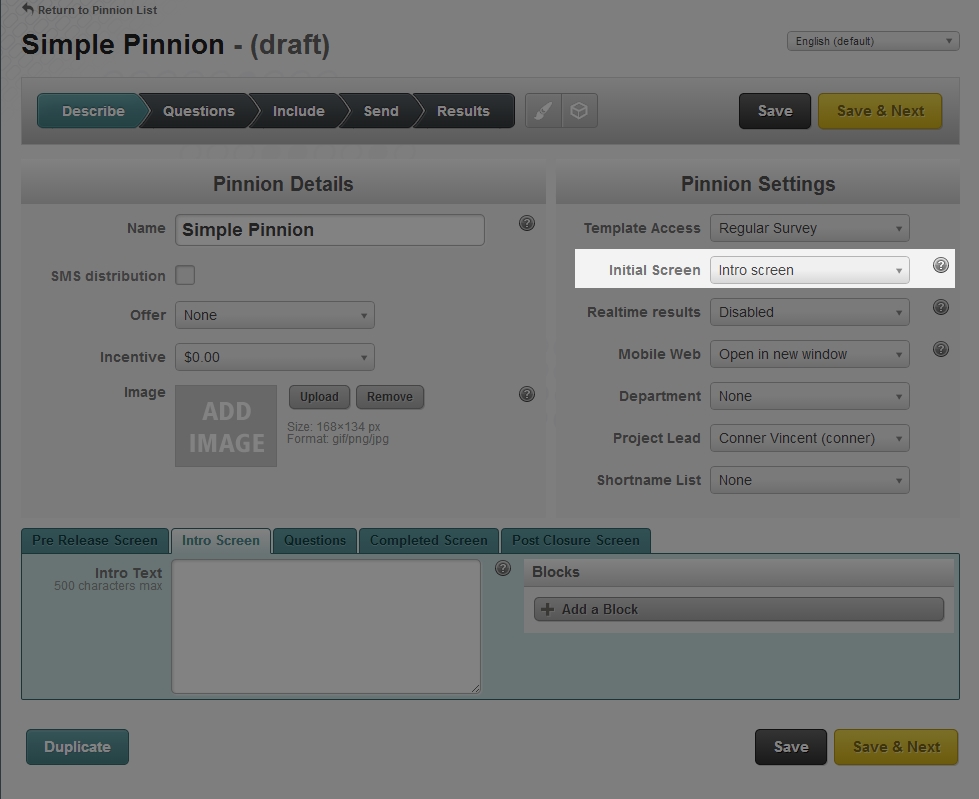
You’ll be at the Describe page of a brand new Pinnion. Here you can set many of the details about your Pinnion and change the intro screen. For now, make sure you have a name you like and click the “Initial Screen” dropdown box. Set it to “First Question”. This will make your Pinnion start on the first question, rather than using an intro screen.
Click “Save & Next” to save your changes and go to the next step: Creating questions.
The Questions is where you add your questions, answers, images and any logic you may want to use. For now, we’re just going to create a simple one question survey.
Click the “Question Text” box.
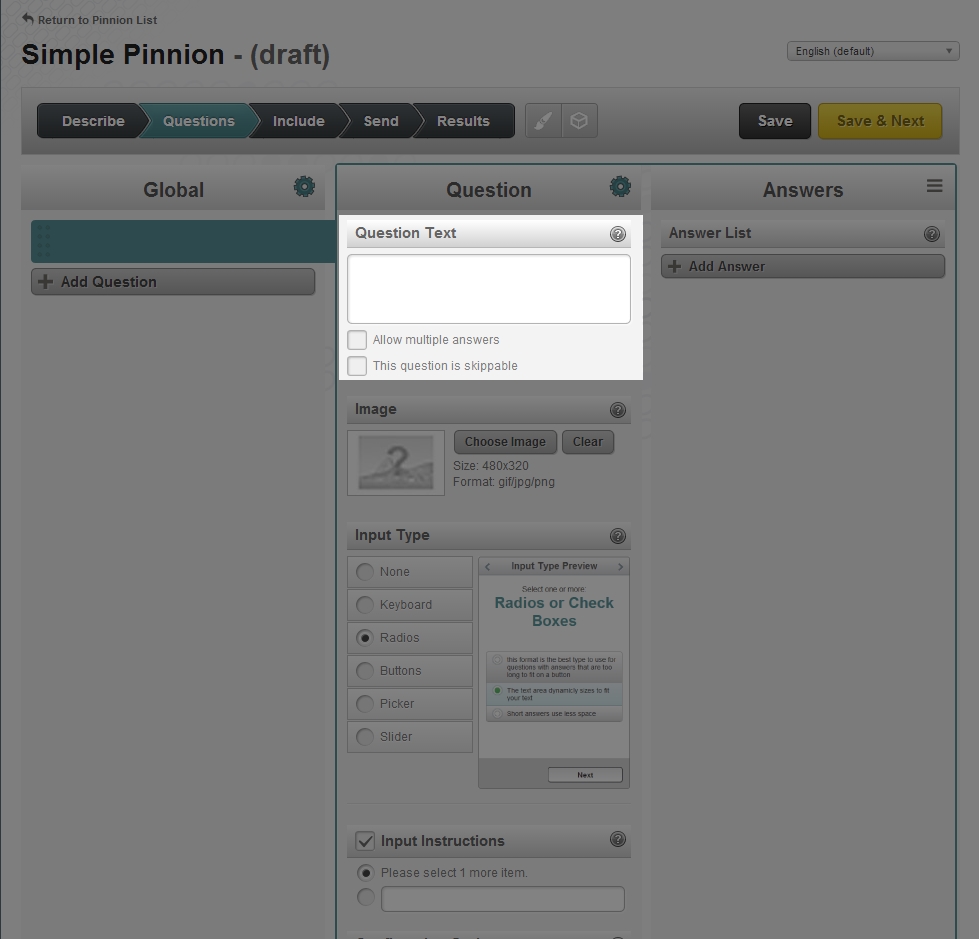
Enter your question text. I’m going to use “Pick a number”, for simplicity. Next, look at the Answers section.
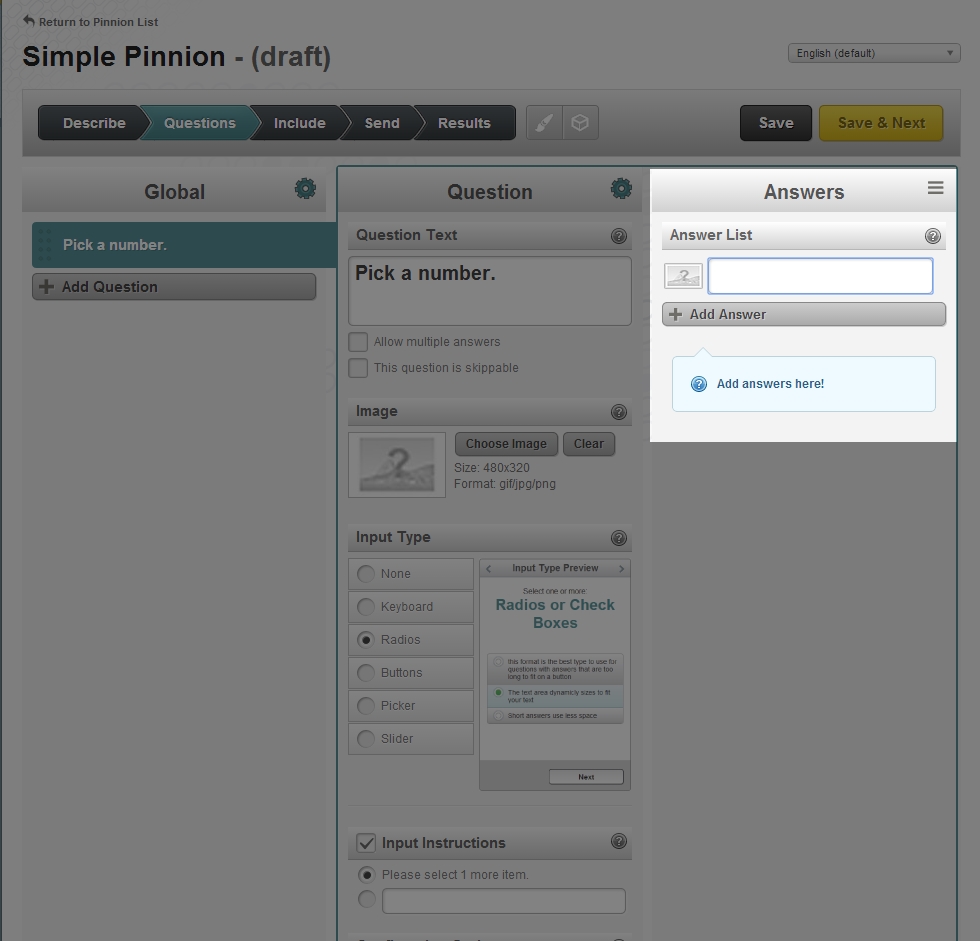
You can provide answers for people using your Pinnion to select here. I’m going to enter “1”, “2”, and “3”. Press “Save & Next” now. This will take you to the Include page.
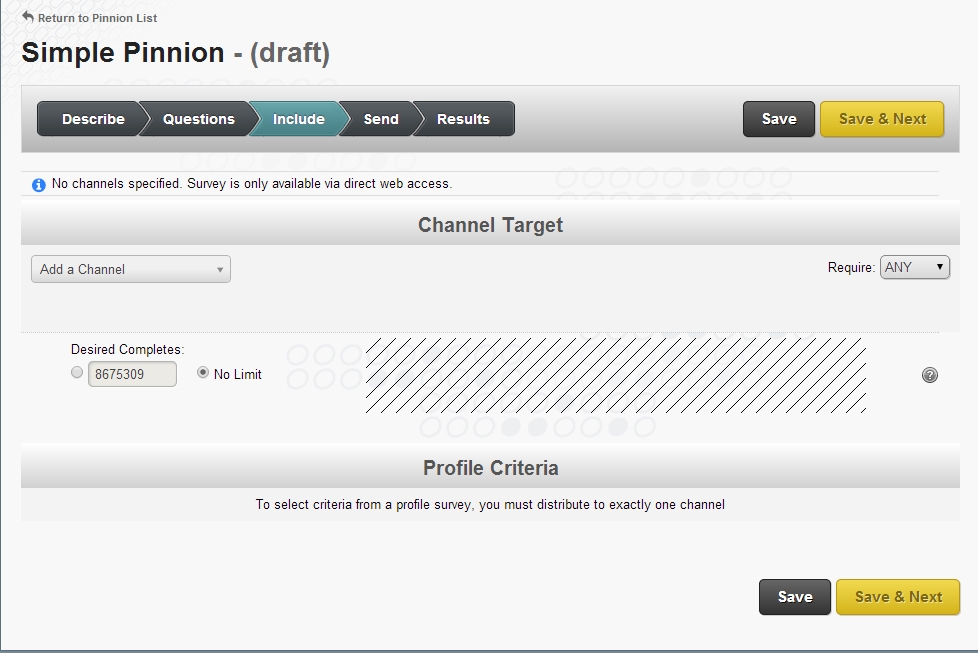
Don’t worry about anything on this page right now, it only matters for people using Channels to distribute their Pinnions. Click “Save & Next” to go to the Send page.
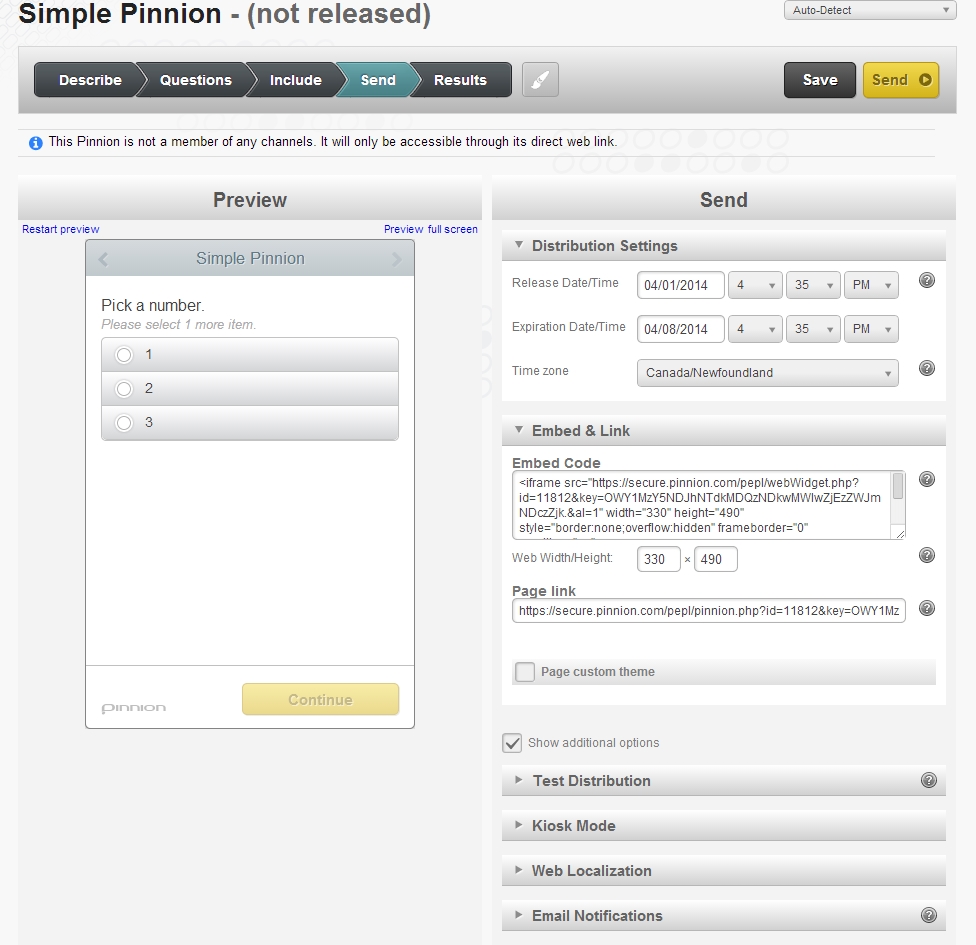
This is where you prepare your Pinnion to be sent out.
On the left is a Preview of your Pinnion; you can test it here to make sure it looks how you want.
In the Distribution Settings section you can determine when your Pinnion will become accessible to other people, and when it will stop being accessible, as well as setting its time zone.
In the Embed & Link section are two important links. The Embed Code can be used to embed your Pinnion in a web page, and the Page Link can be used to link people directly to a web page containing your Pinnion. The Page Custom Theme button can be used to customize the Page Link version of your Pinnion, but don’t worry about that for now.
There are a few other more advanced features below here that can give you more precise control over your Pinnions. For now, set your release and expiration dates, then click Send. Your Pinnion is now active, and people you link to it can take your survey! The next page, Results, will let you check all the information your Pinnion collects.
The Pinnion I created can be found below.